Prepaid eSIM Deals That Beat Any Traditional SIM Plan
Imagine landing in a foreign city with no cellular service—a prepaid eSIM lets you purchase a data plan online and activate it within minutes, bypassing physical SIM cards entirely. This embedded SIM profile works by scanning a QR code or installing an app, instantly connecting your device to a local network without swapping cards. Benefits include instant connectivity, flexible plan durations, and the ability to keep your primary number active simultaneously. Simply buy a plan from a compatible carrier, install the eSIM profile, and toggle it on in your phone’s settings for immediate, cost-effective roaming. Prepaid eSIM eliminates the need for physical SIM card swaps entirely.
What Exactly Is a Prepaid eSIM and How Does It Differ From a Physical SIM?

A prepaid eSIM is a digital SIM profile that you purchase and install on a compatible phone, providing cellular service without a physical card. Unlike a physical SIM, which you must insert into a tray, an eSIM is embedded in your device and activated by scanning a QR code or entering a code. The main difference is **instant flexibility**: with a prepaid eSIM, you can buy a data plan for a specific destination before you travel, install it in minutes, and switch between carriers without swapping cards. A physical SIM ties you to one operator until you replace the card. Prepaid eSIMs also let you keep your existing number active on the same phone while the eSIM handles new data, which a single physical SIM slot cannot do simultaneously.
If you lose your phone, a prepaid eSIM can be remotely reprovisioned by the provider, whereas a physical SIM is irretrievably gone with the device.
You manage everything through an app or portal, eliminating the need to visit a store.
The Core Mechanics: How a Digital Profile Gets Installed on Your Phone
Installing a prepaid eSIM hinges on a QR code or manual activation code from your carrier. Your phone’s settings menu contains a “Add Cellular Plan” or “Add eSIM” option; scanning that code triggers a secure download of the **digital profile installation process** directly onto your device’s embedded secure element. This profile contains your unique ICCID, authentication keys, and carrier data, all encrypted over the air. After a few seconds of verification, the profile activates automatically, often without a reboot. You can then assign it to a specific line for data or calls. If the QR fails, manual entry of the SM-DP+ address and activation code works identically.
Q: How does the digital profile get installed without wiping my current physical SIM?
A: The new profile is written to a separate, isolated partition on the eSIM chip. Your physical SIM and any existing eSIM profiles remain untouched, so you can switch lines instantly via settings—no physical removal or reinstallation needed.
Prepaid vs. Postpaid eSIM: Which Billing Style Fits Your Travel Style?

Choosing between prepaid and postpaid eSIM ultimately hinges on your travel frequency and budgeting style. Prepaid eSIM plans let you pay upfront for a fixed data allowance, eliminating any risk of surprise roaming bills—ideal for short trips where you want absolute cost control. Postpaid eSIM billing, conversely, charges you after usage, which suits long-term travelers or remote workers needing flexible data adjustments mid-journey. For a weekend getaway, prepaid wins for its simplicity; for a month-long stay with fluctuating needs, postpaid offers adaptability. Assess your itinerary: prepaid eSIM billing rewards planners, while postpaid suits spontaneous roamers. Always verify your device supports the specific eSIM profile before committing.
Prepaid eSIM locks costs upfront for predictable travel; postpaid eSIM offers usage-based flexibility, making your billing choice a direct reflection of your trip’s length and data predictability.
Why Choose a Pay-As-You-Go Digital Profile Over Traditional Roaming?
Traditional roaming often feels like a gamble—you land, your phone pings a foreign network, and you brace for a bill that makes little sense. A prepaid eSIM flips that script. With a pay-as-you-go digital profile, you’re in control before you even board the plane. You buy data for a specific destination or region at a flat rate, install it as a second profile, and switch it on only when needed. There’s no surprise surcharge for that one map download or a quick message back home. Instead, you’re paying for exactly what you use, not a daily roaming fee that starts counting the second your plane touches down. This matters most when you travel sporadically—a weekend in Lisbon, a layover in Singapore—where full roaming plans are overkill. You also keep your home SIM active for calls, avoiding the nightmare of a dead number. The result is a lighter, more intentional way to stay connected.

- Check your phone’s eSIM compatibility before departure.
- Buy data packages that match your actual trip length, not a monthly cycle.
- Top up only when you run low—no auto-renewal traps.
- Keep your primary SIM for voice, the eSIM for data, avoiding roaming voice fees.
- Use the eSIM’s app to monitor usage in real time and adjust.
Localized data bundles
How to Check If Your Smartphone Supports This Digital Connectivity Solution
You’re standing in a foreign airport, staring at a prepaid eSIM QR code, but the real question is whether your phone will even blink. First, open your dialer and punch in `*#06#`—if you see an EID number appear, that’s your hardware’s silent confirmation it has an eSIM chip. Next, dive into **Settings** → *Cellular* or *Network*, and hunt for “Add Data Plan” or “Add eSIM.” If that option exists, you’re halfway there; if it’s missing, your device likely isn’t eSIM-compatible, no matter the carrier. Cross-check your exact model number online against the manufacturer’s spec sheet, because carrier-unlocked versions sometimes strip eSIM support.
Most prepaid eSIM providers list a “compatibility checker” on their site—enter your IMEI there, and it will tell you instantly if your phone can handle a digital SIM.
Finally, reboot and toggle airplane mode once after scanning the QR—if a network name appears under “SIMs,” you’re live.
Unlocked Phones vs. Carrier-Locked Devices: What Works and What Won’t
For prepaid eSIM, an **unlocked phone is the non-negotiable baseline**. A carrier-locked device, even if technically eSIM-capable, typically restricts adding foreign or competing network profiles to its domestic carrier’s list; your prepaid eSIM will simply fail to install or activate. In contrast, an unlocked handset accepts any compatible eSIM QR code or activation app without intervention. However, verify the specific model’s IMEI is truly unlocked at the network level—some “unlocked” phones retain regional bands that block certain prepaid providers. If your device is locked, you must permanently unlock it (via carrier request) or use a physical SIM workaround; temporary software unlocks won’t persist for eSIM profiles.
Only an officially carrier-unlocked phone reliably supports prepaid eSIM; locked devices reject non-domestic profiles and require a permanent unlock before any prepaid eSIM will work.

Quick Ways to Verify eSIM Compatibility on iOS and Android
The fastest way to verify prepaid eSIM support on iOS is to dial quick eSIM compatibility checks via Settings → Cellular → “Add eSIM,” which only appears if your iPhone model supports it. On Android, navigate to Settings → Network & Internet → Mobile Network, tapping “Add Carrier” or scanning a QR code; if the option is absent, the device lacks eSIM hardware. Alternatively, check IMEI-based validity: dial *#06# — if an EID (embedded identity descriptor) number appears, the chipset is eSIM-ready. For prepaid purchases, carrier partner pages often auto-detect your device from the user-agent string.
- Compare your model against Apple’s official eSIM-supported iPhone list or Google’s Pixel/Android compatibility chart.
- Search your exact phone model plus “eSIM specification” on the manufacturer’s support site, since budget variants often omit the hardware.
- Look for “Dual SIM with eSIM” in your phone’s original retail box or technical specs.
Where to Buy the Best Prepaid Data-Only Plans Without Overspending
To secure the best prepaid data-only plans without overspending, skip carrier stores and buy your prepaid eSIM directly from specialized digital marketplaces like Airalo, eSIMDB, or esimhub, which aggregate regional and global packages at wholesale rates. Compare per-gigabyte prices on comparison sites like esimgeek before purchasing, as these platforms let you filter by duration and data allowance, ensuring you only pay for what you actually use. For immediate needs, buy directly from the local network’s official eSIM page (e.g., Orange or T-Mobile) when traveling, as they often beat third-party markups for single-country coverage. Always choose a plan with a shorter validity window and 5–10 GB less than you estimate—unused data is pure waste. This targeted approach delivers prepaid eSIM data savings without sacrificing speed or coverage.
Comparing Regional vs. Global Packages: Which Coverage Zone Do You Need?
When choosing between regional and global prepaid eSIM packages, your itinerary dictates the smarter spend. A regional plan, such as one covering Europe or Southeast Asia, typically offers a lower per-gigabyte cost than a global plan, but eSIM South Africa only if your travel stays strictly within that designated zone. The critical error is underestimating “gray areas” like Turkey or Morocco, which often fall outside standard regional bundles, forcing an expensive top-up. Conversely, a global package is justified only for multi-continent trips with unpredictable border crossings; its premium price buys certainty. For a single-country tour, a local or regional eSIM beats any global option on price. Always verify your exact destination list against the provider’s coverage map before purchasing, since the smallest mismatch between your route and the zone eliminates the savings. Match the coverage zone to your actual route to avoid paying for unused reach.
Hidden Fees to Watch For: Data Tiers, Speed Throttles, and Top-Up Triggers
When hunting for a budget prepaid eSIM, the sticker price rarely tells the whole story. Watch for hidden fees tied to data tiers, where a “5GB” plan might only offer 3GB at full speed before dropping to a painfully slow 128kbps—effectively useless for maps or messaging. Speed throttles often kick in silently after a daily allowance, so check if your usage resets at midnight or over 24 hours. Also, scrutinize top-up triggers: some providers auto-charge your card for a new package when you hit 80% usage, while others just cut you off. Compare whether a small top-up costs more per GB than a fresh plan, and see if unused data rolls over or vanishes. Always read the fair-use policy to avoid surprise charges.
Step-by-Step Setup: Installing and Activating Your First Digital SIM Profile
To install your first prepaid eSIM, begin by confirming your smartphone is carrier-unlocked and supports eSIM functionality—usually found in the device’s settings under “Cellular” or “Connections.” Next, purchase a prepaid eSIM plan from a provider’s website or app, then scan the QR code they email you, or manually enter the activation code in your phone’s “Add Cellular Plan” section. After the profile downloads, label it (e.g., “Travel”) and set it as your default for data, but keep your primary line active for calls if you prefer. Finally, enable “Data Roaming” and restart your device; activation typically completes within minutes once the profile registers on the local tower. For prepaid plans, avoid toggling the profile off and on repeatedly, as this can occasionally trigger a re-activation delay. If prompted, enter the APN settings provided in your confirmation email, then verify your balance in the provider’s app to confirm the data allowance is live.
Scanning the QR Code vs. Manual Input: Which Activation Method Is Smoother?
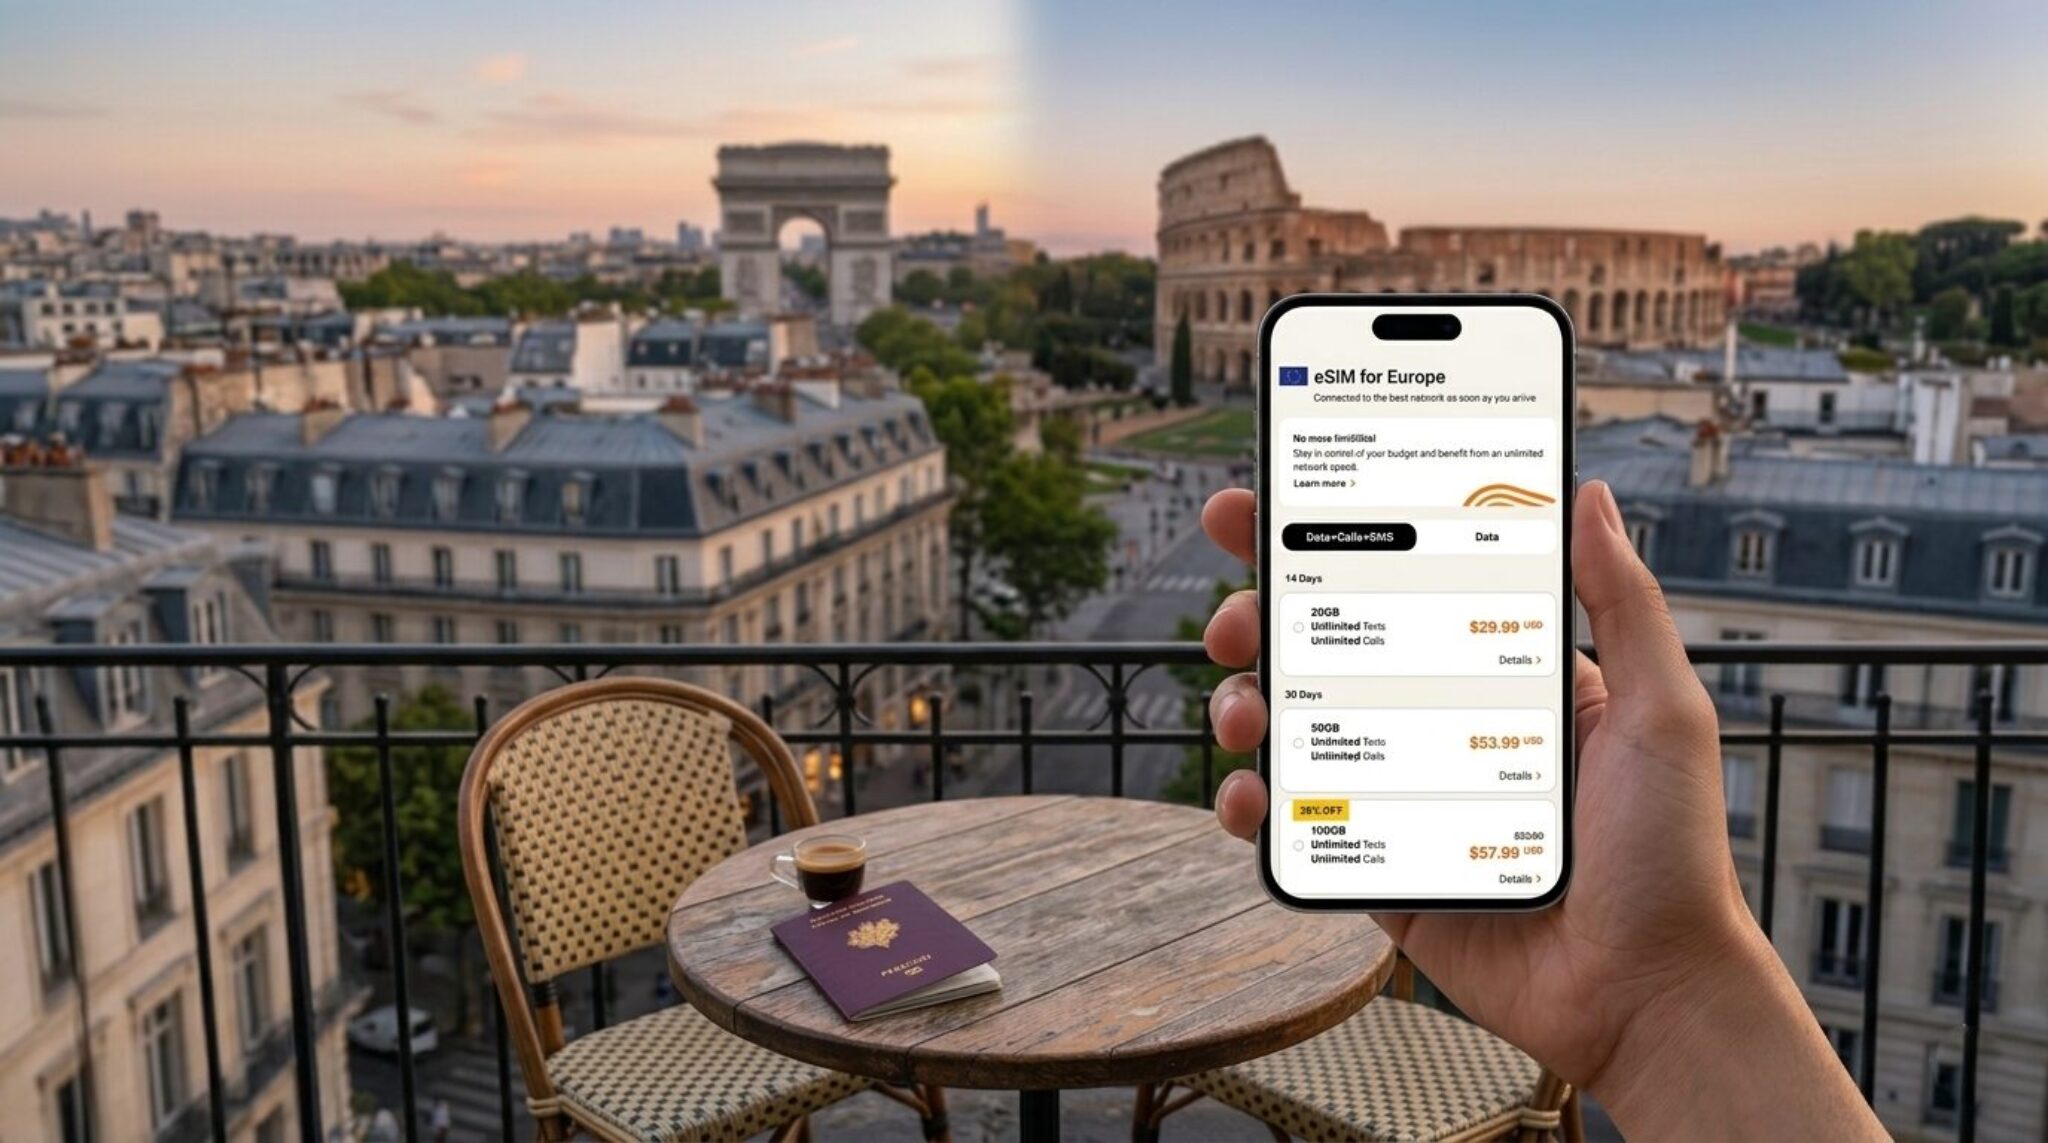
For most prepaid eSIM users, scanning the QR code is the smoother activation method because it auto-fills the SM-DP+ address and activation code in seconds. Manual input demands careful transcription of a long alphanumeric string, which is error-prone and slower on mobile keyboards. However, QR scanning fails if your camera is damaged or the code arrives as a low-resolution screenshot; in that case, manual entry becomes your only option. Copy-pasting the manual details from an email often proves just as fast as scanning, provided the provider includes them in plain text. A table clarifies the trade-off:
| Aspect | QR Code | Manual Input |
|---|---|---|
| Speed | ~5 seconds | 1–2 minutes |
| Error risk | Low | High (typos) |
| Device compatibility | Needs working camera | Any device |
Switching Between Multiple eSIM Profiles on One Device Without Restarting
Once your first prepaid eSIM is active, adding a second profile for travel or local data doesn’t demand a reboot. Modern devices let you switch between multiple eSIM profiles on one device without restarting, keeping your current connection live until the moment you toggle. Go to Settings > Cellular (or Mobile Data), tap the profile you want to use, and select “Turn On This Line.” Your phone reassigns the active line within seconds, and calls or data jump to the new plan immediately. To avoid surprises, set one profile as the default for voice and another for data—this split lets you keep your home number reachable while burning prepaid data from the second SIM. For a clean swap: 1) Disable the inactive profile if background refresh drains battery. 2) Confirm the target profile shows “Connected” before leaving the menu. 3) If a network scan stalls, toggle Airplane Mode briefly—this forces a re-register without a full restart.
Top 5 Practical Tips to Maximize Battery Life and Data Efficiency While Abroad
Unlock the full potential of your prepaid eSIM by pairing it with smart device habits. Maximize battery life abroad by disabling LTE on secondary SIM slots; your eSIM’s data profile drains power when scanning for weak networks. Switch to 3G or 4G-only mode in settings to cut idle drain. For data efficiency with eSIM, pre-download offline maps and disable background app refresh for social media—only let your messaging apps run live. Use built-in data savers that block automatic video playback and photo uploads over cellular. Turn on airplane mode during long metros or ferries, then re-enable only your eSIM line, not the home SIM. Finally, track usage with the eSIM provider’s app to set hard alerts at 50%, 80%, and 95%.
| Tip | Battery Impact | Data Impact |
|---|---|---|
| Disable unused SIM slot | Critical (stops RF scanning) | Low |
| Offline maps & media | Moderate | High (saves 30–50%) |
| Background app restrictions | High | Moderate |
| Airplane mode toggle | High | Zero (avoids roaming leaks) |
| Usage alerts | None | High (prevents overage) |
What Happens When the Data Runs Out or the Plan Expires?
When the data runs out on a prepaid eSIM, your connection doesn’t vanish instantly—it throttles to a crawl, often leaving messaging apps functional but web pages stuck loading. The plan’s expiry is the harder cutoff: after that moment, the profile goes dormant, and you’ll see “No Service” or “SOS only” on your phone, even if you’re standing in a busy city. You can’t roam or receive calls, but your eSIM itself stays installed, waiting. The real trick is that most providers give a grace period, sometimes 24 hours, during which you can top up with a new data pack—if you miss that window, the profile may deactivate entirely, forcing a re-download via Wi-Fi. Your prepaid eSIM only dies if you abandon it, but data exhaustion without expiry is just a slow lane, not a dead end.
Always check whether your provider treats “data used up” as a pause or a purge—because that determines if you’re buying more data or reinstalling a new eSIM from scratch.
Top-Up Options, Renewal Periods, and Emergency Data Refills
When your prepaid eSIM’s data depletes or the plan lapses, you’re never stranded. **Top-up options** typically appear instantly in your provider’s app or portal, letting you buy same-size or custom data bundles without changing your eSIM profile. Renewal periods vary—some plans auto-renew on a 30-day cycle, others require manual reactivation before the grace window closes (usually 24–72 hours). For urgent needs, emergency data refills deliver small, high-speed chunks (e.g., 1GB) within minutes, often via one-tap payment or SMS. Always check if your refill resets the renewal date or stacks onto existing data. Emergency data refills are your lifeline when Wi-Fi is absent and deadlines loom.
Q: Can I top up after my plan expires, or do I lose the number?
A: Most prepaid eSIMs allow top-ups during a short grace period (often 7–30 days) post-expiry. After that, the number may be recycled—so refill promptly to retain it.
Can You Reuse the Same QR Code for a Second Trip?
Whether you can reuse the same QR code for a second trip depends entirely on the eSIM’s activation model. A **prepaid eSIM QR code is typically single-use**, as it is hardwired to a unique activation code or SM-DP+ address that becomes invalid once the profile is downloaded. However, if the eSIM package is a “renewable” or “top-up” plan, the same QR code may remain valid for reactivation after the original plan expires, provided your device retains the installed eSIM profile. If you delete the profile, reusing the original QR code usually fails, forcing you to request a new one from the carrier. Always check your provider’s policy before deleting the profile, as some lock the QR code permanently after first scan. Reusing a QR code for a second trip is only possible with carriers that explicitly support reactivation via the same installation link.
Q: Can you reuse the same QR code for a second trip if the first plan expires?
Yes, but only if the carrier allows reactivation of the original eSIM profile. If you install a fresh profile each time, the QR code is almost always dead after the first scan.
Common Troubleshooting: Why Isn’t My Digital Plan Connecting and How to Fix It
When your prepaid eSIM refuses to connect, the issue is almost always a simple procedural slip. I once installed a plan at the airport, stared at “No Service” for twenty minutes, and realized I’d never toggled on the line in my phone’s cellular settings. Start there: check that the eSIM profile is enabled, not just downloaded. Then, force a restart—this kicks the carrier registration into gear. If you’re still stuck, manually search for network operators; your prepaid plan may only ride on specific towers. Also, verify that data roaming is on, because many prepaid eSIMs rely on roaming profiles even for “local” coverage. Finally, if you swapped SIMs recently, your phone might be holding onto an old carrier profile—delete the old eSIM and reinstall the new QR code. Prepaid eSIM connection problems usually vanish with a clean profile refresh and a reboot.
- Confirm the eSIM line is enabled in Settings → Cellular, not just installed.
- Toggle Airplane Mode for 30 seconds, then restart your device completely.
- Turn on Data Roaming—required by most prepaid eSIMs to latch onto partner networks.
- Manually select your carrier under Network Selection if auto-connect fails.
- Re-scan the QR code or re-download the profile if the plan shows “Activation Failed.”